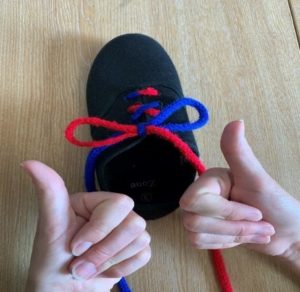
How to tie shoe laces using the bunny ears method
Follow our visual guide on how to tie shoe laces using the ‘bunny ears’ method. You can also download a copy of this guide by following the link on the right.
How to tie shoe laces using bunny ears – a step-by-step guide
Using different colour laces can help you teach your child how to tie their own shoe laces.
Step 1
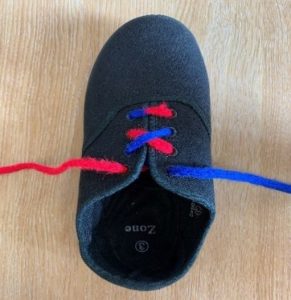
Put the blue lace as shown in the picture on the right hand side and the red lace on the left hand side to start with.
Step 2
Cross the red lace over to the right hand side beside the blue lace.
Step 3
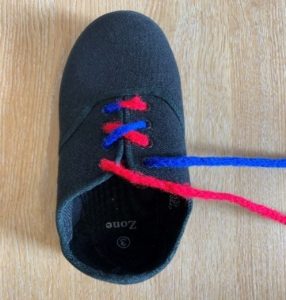
Cross the blue lace over to the left hand side to create an X.
Step 4
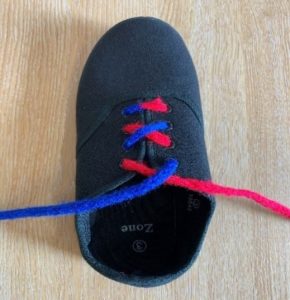
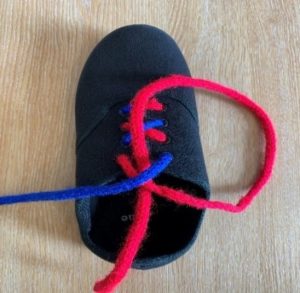
Take the end of the red lace (with your right hand) and place it under the X (top to bottom).
Step 5
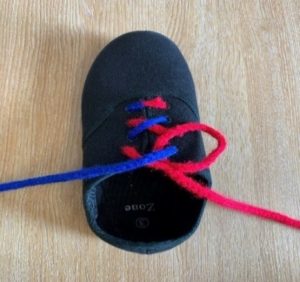
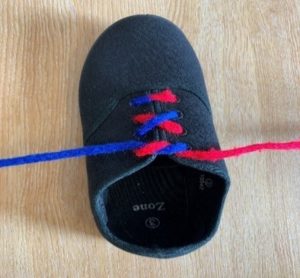
Pull the red lace (with your right hand) and blue lace (with your left hand) together at the same time.
Step 6
Step 7
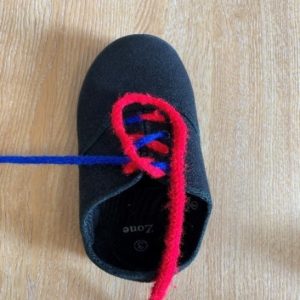
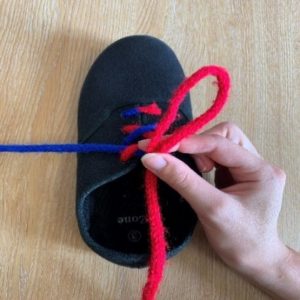
Loop one lace into a rabbit ear shape.
Step 8
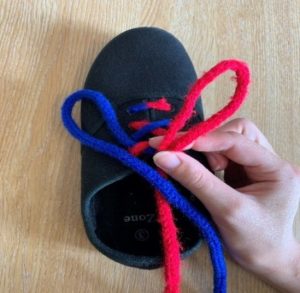
Hold the loop in place with your pincer fingers.
Step 9
Repeat step 8 with the other lace.
Step 10
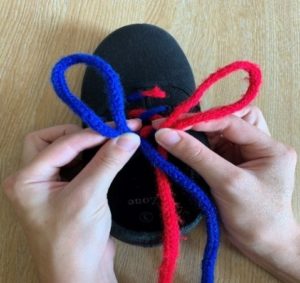
Hold the rabbit ears at the bottom next to the knot.
Step 11
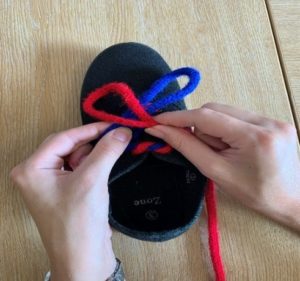
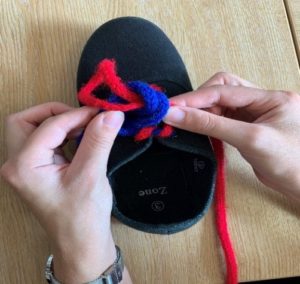
Cross the rabbit ears over each other so that the red ‘ear’ is in the front of the blue ‘ear.’
Step 12
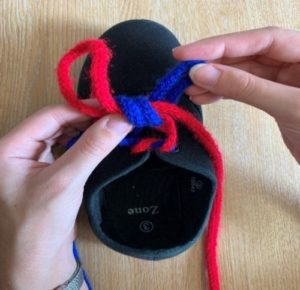
Pull the blue ear over the red ear (lace) and push through the ‘hole’ beneath where they cross.
Step 13
Pull the blue ear (lace) right through to the other side.
Step 14
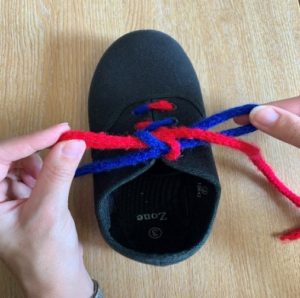
Pinch each loop with your pincer fingers.
Step 15
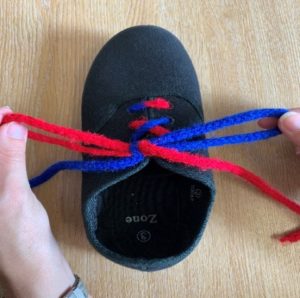
Tighten the rabbit ears into a bow.
Step 16
You have done it!
